

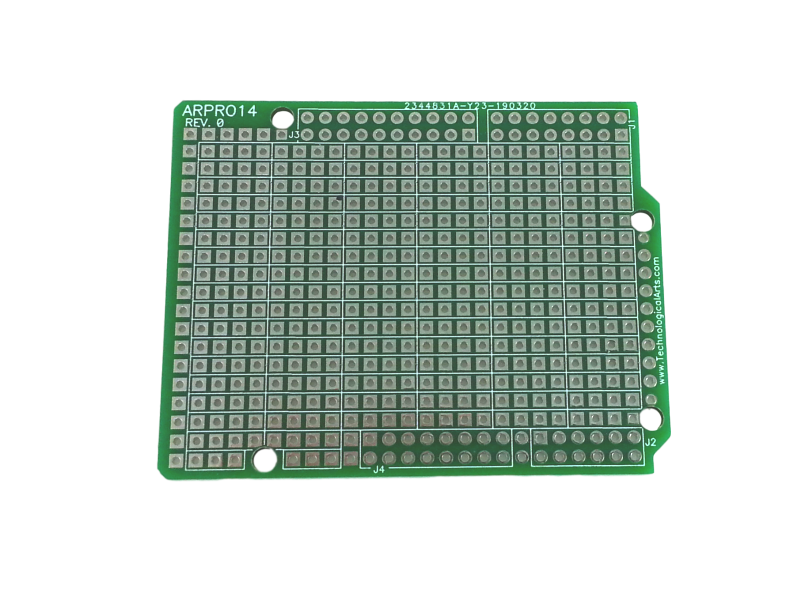
Description
- this is a next generation design, compatible with Rev. 3 Arduino UNO, Leonardo, EsduinoXtreme, and Kinetis Freedom
- brings out the extra pins added to Arduino Rev. 3 and Leonardo
- dual-row header design compatible with the Kinetis Freedom boards made by Freescale
- horizontal strips of 4 connected pads on a 0.1" grid for easy soldering of standard DIP packages and other components
- accepts narrow and wide DIP packages
- double-sided board with plated-through holes
- single-row header footprints provided for use with Arduino UNO rev. 3, Leonardo, EsduinoXtreme, and some Kinetis Freedom boards
- dual-row header footprints provided for use with some Kinetis Freedom boards
How To Use
Print out the layout pattern included in the datasheet PDF to plan your component layout and wiring. Then solder the components in place, and use ordinary wire-wrap wire (i.e. Kynar AWG30 wire) to make the interconnections. Component pins will have two extra pads associated with them, making it easy to make multiple connections to one signal (e.g. a resistor lead, and the lead of a capacitor). Arduino and EsduinoXtreme signals appear on the outer rows of header pads, while the additional signals available on certain Kinetis Freedom boards appear on the inner rows. Access the signals you need by soldering one end of your point-to-point wiring to the designated pin. If you're using stackable headers, you'll have to solder to the header pins on the bottom. To accomplish point-to-point wiring, just cut wires to length, strip a little insulation off the ends, and solder directly to the desired pads on the bottom of the board. Wiring can be routed on the top of the board or the bottom-- or both! Many a high-density prototype has been reliably and efficiently constructed using this approach.